Hatching chicken eggs can be a thrilling experience for backyard farmers, breeders, and enthusiasts. Not only does it allow you to raise your own healthy chickens from scratch, but it also enables you to conserve genetic diversity in your flock. However, hatching eggs successfully requires careful planning and attention to detail. Choosing the right breeds is essential, as some are more suitable for hatching than others. You’ll want to select breeds with high hatch rates and robust health. Preparing healthy parent stock is also crucial, as the quality of the parents directly impacts the fertility and viability of their eggs. In this article, we’ll share expert tips on how to choose the right breeds, prepare healthy parent stock, and successfully incubate fertile eggs for a high hatch rate. By the end of this guide, you’ll be equipped with the knowledge to confidently raise healthy chicks from day one.
Choosing the Right Breeds for Hatching
When it comes to successfully hatching chicken eggs, selecting a breed that’s well-suited to beginners is crucial, as some breeds are easier to hatch than others.
Selecting Heritage or Specialty Breeds
When selecting heritage or specialty breeds for hatching, you’re not just choosing a bird’s appearance – you’re also getting a unique set of characteristics. These breeds often excel in specific areas like egg production, temperament, and even disease resistance. For example, the Silkie breed produces smaller eggs but has exceptional broodiness, making them excellent mothers. On the other hand, the Brahma breed lays larger eggs and is known for its gentle nature.
When choosing a heritage or specialty breed, consider factors such as climate adaptability, noise level, and egg size. Some breeds are better suited to small backyards due to their quiet nature or compact size. Others may require more space due to their roaming tendencies. It’s essential to research the specific needs of your chosen breed to ensure you can provide the best possible environment.
Ultimately, selecting a heritage or specialty breed adds an extra layer of challenge and reward to the hatching process. By choosing a breed that fits your lifestyle and goals, you’ll be more likely to succeed in raising healthy, happy chickens.
Understanding Egg Production and Temperament
When selecting a breed for hatching, it’s essential to consider egg production and temperament. Different breeds have varying rates of egg production, ranging from around 280 eggs per year in Leghorns to as few as 120 in Orpingtons. Temperament is equally important, as some breeds are more docile and suitable for backyard flocks.
For example, the Plymouth Rock breed produces an average of 200-220 eggs annually and is known for its friendly, outgoing temperament, making it a popular choice for beginners. On the other hand, the Silkie breed has a lower egg production rate (around 120 eggs per year) but boasts a gentle and affectionate nature.
When choosing a breed, consider your experience level and goals. If you’re new to hatching, a more productive breed like Leghorn or Rhode Island Red might be suitable. However, if you prioritize temperament and are willing to collect eggs daily, a smaller flock of docile breeds could be the way to go. Be aware that some breeds, such as the Araucana, can be flighty and require extra attention. Researching the breed’s characteristics will help you make an informed decision for your hatching needs.
Preparing the Breeder and Hatcher
To successfully hatch chicken eggs, it’s essential that both your breeder and hatching equipment are properly prepared to ensure a healthy start for your chicks. This involves setting up a clean and sterile hatching environment.
Selecting Healthy Parent Stock
When selecting healthy parent stock for hatching eggs, several key factors come into play. Fertility is a primary concern – you want parent birds that consistently produce fertile eggs to ensure successful hatch rates. Look for breeds with high fertility ratings, and consider the age of the parents: young birds are often more fertile than older ones. Egg quality is also crucial; choose parents with clean, well-shaped eggs and minimal imperfections.
Disease resistance is another vital consideration. Select breeds known for their robust immune systems and ability to withstand common poultry diseases. Some popular heritage breeds, such as the Barred Plymouth Rock or the Wyandotte, are renowned for their hardiness. When selecting parent stock, also consider factors like temperament – calm birds are easier to handle and less stressed during incubation.
To identify quality parent stock, research reputable breeders who prioritize health and genetics. Look for certifications from organizations like the American Poultry Association (APA) or the American Bantam Association (ABA). You can also join local poultry clubs or attend breed shows to network with experienced breeders and gain hands-on knowledge about different breeds and their characteristics.
Building or Setting Up a Brooder or Incubator
A well-designed brooder or incubator is essential for successful hatching. Temperature control is crucial, with a temperature range of around 99-100°F (37-38°C) for the first 24 hours after fertilization and 98-99°F (36-37°C) for the remainder of incubation. Humidity management is also vital, typically maintained between 50-60% to prevent drying out or over-moistening of eggs.
Lighting considerations are less critical than temperature and humidity control but still important for even egg distribution during incubation. Some brooders and incubators come equipped with automatic lighting systems that adjust intensity and duration according to the stage of development.
Brooder options include DIY wooden units, heat lamps, or commercial brooder boxes specifically designed for hatching small batches of eggs. Incubator types range from basic, low-cost models suitable for a few dozen eggs to high-tech, automated machines capable of hatching hundreds of eggs at once.
When selecting a brooder or incubator, consider the number of eggs you plan to hatch and your available space. For small-scale hatching operations, a DIY or compact unit may be sufficient, while larger farms require more advanced equipment to manage large batches efficiently.
Fertilization and Storage
Now that you’ve successfully incubated your eggs, it’s time to think about fertilization and storage. Proper handling and maintenance will ensure healthy development for your developing chicks.
Natural Mating vs. Artificial Insemination
Natural mating involves breeding a rooster with hens to fertilize eggs. This method is free and allows breeders to select for desired traits in their flocks over generations. However, fertility rates can be lower than those achieved through artificial insemination (AI), especially if the rooster is not fertile or if mating occurs infrequently.
Artificial insemination involves collecting and depositing a rooster’s semen directly into the hen’s cloaca. This method requires specialized equipment and expertise but can result in higher fertility rates, especially when used with healthy roosters. AI also allows breeders to use high-quality frozen-thawed semen from top-performing males.
The main advantage of natural mating is its simplicity and cost-effectiveness. Breeders who value traditional breeding methods or have small flocks may prefer this approach. However, natural mating requires a rooster that is present at the farm on a regular basis, which can be challenging in large-scale operations.
Artificial insemination offers improved fertility rates but comes with higher costs due to equipment and expertise requirements. It’s essential for breeders to weigh these factors when deciding between natural mating and artificial insemination.
Storing Fertile Eggs for Hatching
Storing fertile eggs requires careful attention to maintain their quality and ensure a successful hatch. After collection, eggs should be handled gently to prevent damage and contamination. Store them in a cool, dry place, away from direct sunlight and moisture.
For optimal storage, keep the eggs pointed end down in a carton or tray with separate compartments. This prevents the yolk from touching the shell and promotes even air circulation around each egg. Most breeders store fertile eggs at 50-60°F (10-15°C) with moderate humidity. You can also use an incubation fridge or a dedicated storage unit designed for this purpose.
The duration of storage depends on several factors, including temperature, handling, and the freshness of the eggs when collected. Typically, fertile chicken eggs can be stored for 7-10 days without significant loss in viability. However, some breeders have successfully hatched eggs after up to two weeks of storage at optimal conditions.
To maintain egg quality during storage:
- Avoid storing eggs near strong-smelling foods or chemicals
- Keep the storage area away from drafts and extreme temperatures
- Monitor the eggs regularly for visible signs of spoilage or cracks
Incubation Basics
To successfully hatch chicken eggs, you need a solid understanding of incubation basics, including temperature control and turner settings. Let’s start with the fundamentals to ensure healthy hatching.
Setting Up an Automatic Incubator
Automatic incubators simplify the hatching process by controlling temperature, turning eggs, and maintaining humidity. These machines come with various features, including digital displays for monitoring temperature and humidity levels, automatic egg turning mechanisms, and some even have built-in ventilation systems.
A common type of automatic incubator is the forced-air model, which circulates warm air through a series of ducts to maintain a consistent temperature within 1-2°F. This design helps prevent cold spots that can affect embryo development.
Other types of automatic incubators include still-air models, which rely on a heated plate or coil to warm eggs directly, and humidity-controlled units that regulate the moisture levels in the incubator. Some popular brands of automatic incubators available for purchase include Brinsea, Rcom, and HovaBator.
When setting up an automatic incubator, it’s essential to follow the manufacturer’s instructions carefully. This includes calibrating temperature and humidity settings, adjusting egg turning intervals, and ensuring proper ventilation. It’s also crucial to regularly clean and maintain the machine to prevent bacterial growth and ensure optimal performance. By choosing the right features and following proper setup procedures, you can successfully use an automatic incubator to hatch healthy chicks.
Monitoring Temperature and Humidity During Incubation
Monitoring temperature and humidity is crucial for a successful hatch. A 1-2% deviation from ideal temperatures can lead to reduced fertility, delayed development, or even embryo death. The incubation environment should maintain a consistent temperature between 99°F (37°C) and 100°F (38°C), with slight variations depending on the breed.
To monitor temperature, use an accurate thermometer placed in the incubator’s air cell area. Some incubators come equipped with built-in thermometers or temperature probes. For manual incubation setups, a digital thermometer is recommended for precise readings. Check the temperature at least twice daily and make adjustments as needed to maintain a stable environment.
Humidity levels should be maintained between 50-60%. A hygrometer can help monitor humidity levels, but it’s essential to also observe the eggs’ condition. Dry air can cause cracks or desiccation, while overly humid conditions may promote mold growth. Check for condensation on the incubator walls and ensure good airflow to prevent moisture buildup.
For temperature-sensitive breeds like Silkies or Polish, a slightly lower temperature of 98-99°F (36-37°C) is often recommended. Always consult your incubator’s manual or manufacturer recommendations for specific guidelines.
Hatching and Caring for Chicks
When it’s time to take your newly hatched chicks under your wing, providing a safe and nurturing environment is crucial for their growth and development. This section covers the essential care and handling techniques to ensure your baby chicks thrive.
Identifying Signs of Successful Hatch
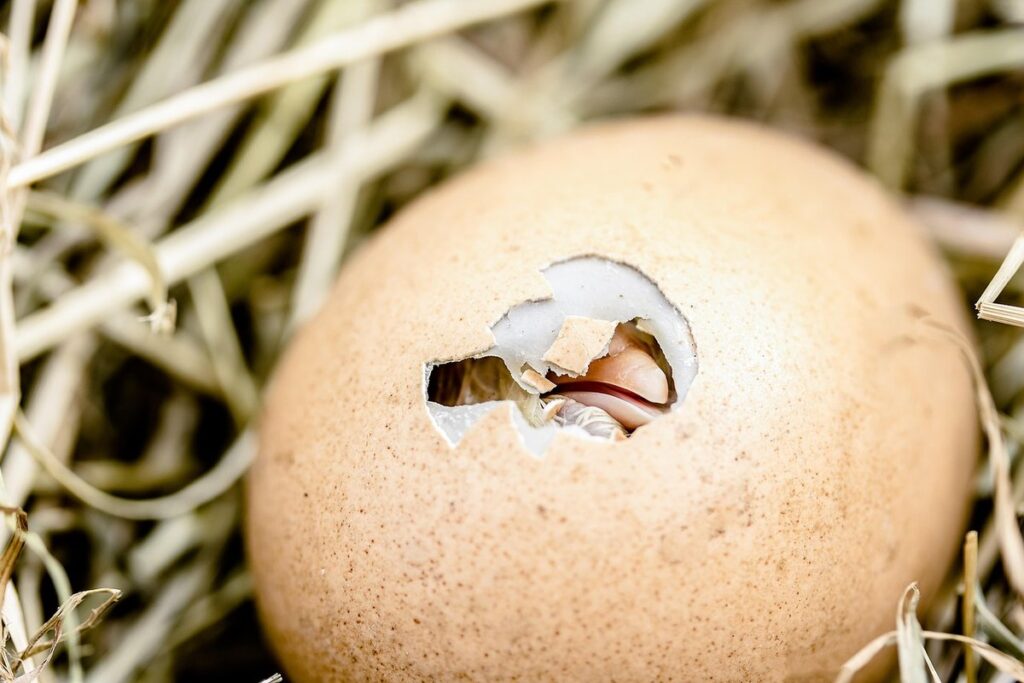
As you approach the end of incubation, several signs indicate a successful hatch. One of the first visible signs is the appearance of tiny cracks on the eggshell, known as pips. These small openings allow the chick to breathe and eventually escape. You may notice the egg vibrating or shaking due to the chick’s movements inside.
Next, the pip will gradually expand into a larger opening, allowing the chick to emerge more quickly. This is often accompanied by a gentle rocking motion of the egg. It’s essential to monitor the eggs closely during this period, as the chick’s head and beak may become stuck in the shell if they’re unable to break free.
In most cases, the chick will emerge within 24 hours after pipping. However, some breeds or individuals may take longer. Be prepared for a possible second pip, where the chick re-enters the egg to absorb remaining yolk and fluids before emerging again. If you observe any issues during hatching, such as slow or stuck emergence, intervene carefully by gently rotating the egg to help the chick break free.
Caring for Newborn Chicks
Newborn chicks require a precise balance of nutrition, temperature, and humidity to thrive. Within their first 24 hours, they need access to a heat source, typically provided by a brooder or incubator set between 90-95°F (32-35°C). This initial stage is critical in establishing their metabolism and regulating body temperature.
A starter feed with 20% protein content should be introduced within the first few days, along with fresh water. It’s essential to monitor chick health closely during this period, inspecting for signs of illness or injury such as labored breathing, lethargy, or visible wounds.
Chicks need a dust-free, well-ventilated environment to prevent respiratory issues and maintain overall health. Keep the brooder area clean, changing bedding material daily and disinfecting equipment regularly. A shallow dish filled with grit can be introduced around day 5-7 to aid in digestion.
Provide adequate space for chicks to move around – a minimum of 1 square foot per chick is recommended. Be aware that a small minority of breeds may require more room due to their growth rate and size.
Advanced Techniques and Troubleshooting
As you gain more experience hatching eggs, you’ll inevitably encounter challenges that require specialized knowledge to overcome. This is where advanced techniques and troubleshooting come into play.
Using Turning Machines or Automated Hatchery Systems
Using turning machines or automated hatchery systems can significantly improve hatch rates by reducing manual handling and increasing consistency. These machines rotate eggs at precise intervals to simulate natural incubation conditions, minimizing the risk of breakage and promoting even development.
There are various types of turning machines available, including those specifically designed for small-scale hatching operations and larger commercial setups. For example, some automated systems use a combination of rotation and air circulation to maintain optimal humidity levels. Others utilize sensors to monitor temperature and adjust as needed.
Implementing these systems can have a noticeable impact on hatch rates. In one study, farms using automated turning machines reported a 10-15% increase in successful hatches compared to traditional manual methods. This is likely due to the reduced risk of human error and the ability to maintain precise incubation conditions 24/7.
When selecting an automated system, consider factors such as egg capacity, temperature range, and ease of cleaning. It’s essential to choose a machine that meets your specific needs and integrates seamlessly with your existing hatching setup.
Common Issues During Incubation and Hatching
Low fertility rates are a common issue during incubation. This can be due to factors such as poor breeding stock quality, inadequate storage conditions for fertile eggs, or insufficient fertilization during natural mating or artificial insemination. To troubleshoot low fertility rates, ensure that the breeder is healthy and producing eggs consistently, store fertile eggs in a cool, dry place away from direct sunlight, and verify that eggs are properly sealed after collection.
Poor humidity control can also impact incubation success. If humidity levels are too high, condensation can form on the incubator’s walls or inside the eggshell, while low humidity can cause desiccation. Monitor temperature and humidity levels closely, using a hygrometer to track both parameters. Most incubators have adjustable humidity settings; adjust these according to the manufacturer’s guidelines.
Uneven temperature distribution within the incubator is another common issue. This can be due to poor insulation, inadequate air circulation, or incorrect placement of heating elements. Check that the incubator is well-ventilated and that heat sources are evenly distributed. Consider investing in an incubator with multiple zones or separate compartments for optimal temperature control.
Frequently Asked Questions
Can I hatch eggs from different breeds together in the same incubator?
Yes, but it’s essential to ensure that the breeds have similar temperature and humidity requirements to avoid any issues during incubation. Some breeds may also have specific needs or sensitivities that could impact overall hatch rates.
How long does it take for chicks to fully develop after hatching?
Newborn chicks typically take around 24-48 hours to dry off, preen their feathers, and become mobile. During this time, they need a safe, warm environment with adequate food and water.
What’s the best way to handle chicks that don’t hatch on schedule or seem weak?
If you notice any issues during hatching or with chick health, it’s crucial to monitor them closely and provide proper care. In some cases, chicks may be underdeveloped or weak due to various factors such as incubation conditions or egg quality. Provide a safe environment, offer nourishing food, and seek advice from experts if necessary.
Can I use a DIY turning machine for my automatic incubator?
While it’s technically possible to create your own turning machine, using an existing commercial product designed specifically for your type of incubator is recommended. This ensures precision, reliability, and optimal performance during the hatching process.
Is it true that some breeds have higher fertility rates than others when it comes to artificial insemination?
Yes, certain breeds are known to respond better to artificial insemination due to their genetic makeup or reproductive characteristics. Researching specific breed requirements and consulting with experts can help you make informed decisions about which breeds to use for your program.